Windows Hello is a convenient and secure authentication feature available in Windows 11. It provides a password-less way to access your device by using biometric authentication or a PIN. With Windows Hello, you can sign in to your Windows 11 device quickly and securely, without the need for a traditional password.
Windows Hello supports various biometric authentication methods, including facial recognition, fingerprint scanning, and iris scanning, depending on the capabilities of your device. You can set up Windows Hello by following these steps:
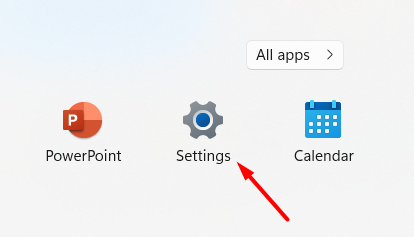
1 – Click on the Start button in the taskbar to open the Start menu. From the Start menu, click on the Settings icon, which resembles a gear.
2 – In the Settings window, select the Accounts category.
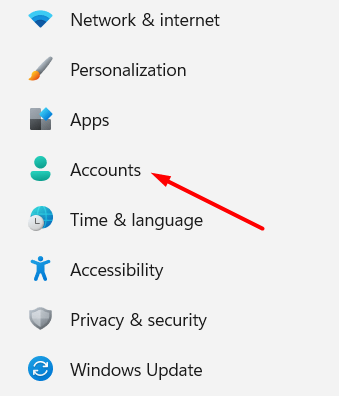
3 – Within the Accounts settings, click on the Sign-in options option located on the left-hand side.

4 – Under the Sign-in options, you will find the Windows Hello section. Here, you can choose to set up facial recognition, fingerprint authentication, or a PIN, depending on the available options on your device.
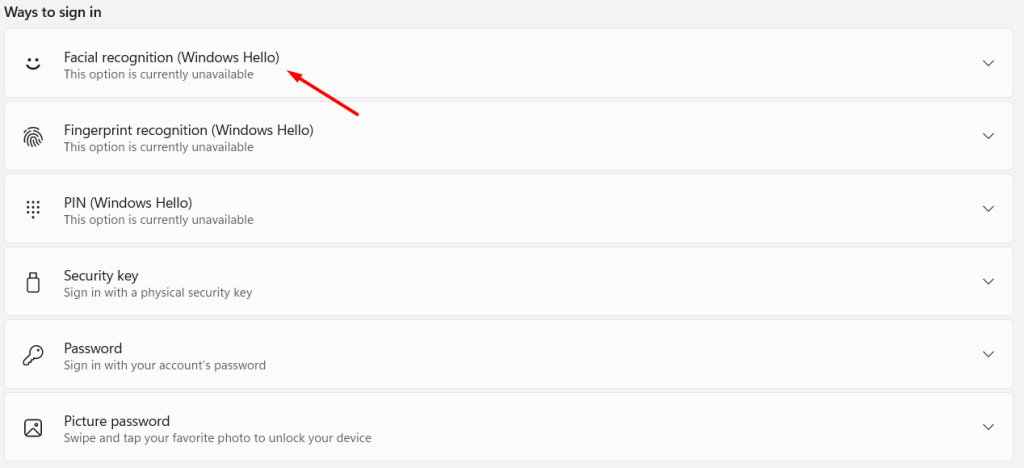
5 – Follow the on-screen instructions to set up your chosen authentication method. For facial recognition, you may be prompted to position your face within the camera frame for scanning and recognition. For fingerprint authentication, you will need to register your fingerprint by placing your finger on the fingerprint scanner.
6 – Once the setup is complete, you can use Windows Hello to sign in to your Windows 11 device by simply looking at the camera or scanning your fingerprint.
Windows Hello enhances the security and convenience of signing in to your Windows 11 device. It eliminates the need to remember and enter complex passwords, making the authentication process faster and more user-friendly. Additionally, biometric authentication methods like facial recognition and fingerprint scanning provide a higher level of security than traditional passwords, making it harder for unauthorized individuals to gain access to your device.


