In Microsoft Word, Restrict Editing is a feature that allows you to control and limit the editing capabilities of a document. It is particularly useful when you want to prevent others from making unauthorized changes to your document or to maintain the integrity and structure of the content. Here’s how to use it:
1 – Open your Word document and click on the Review tab in the ribbon at the top of the Word window.
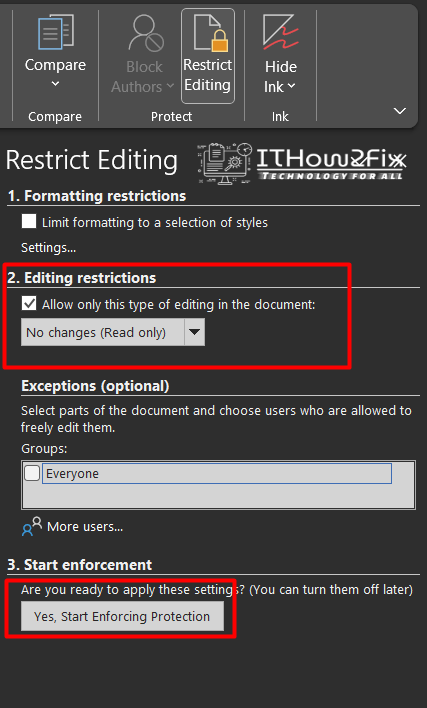
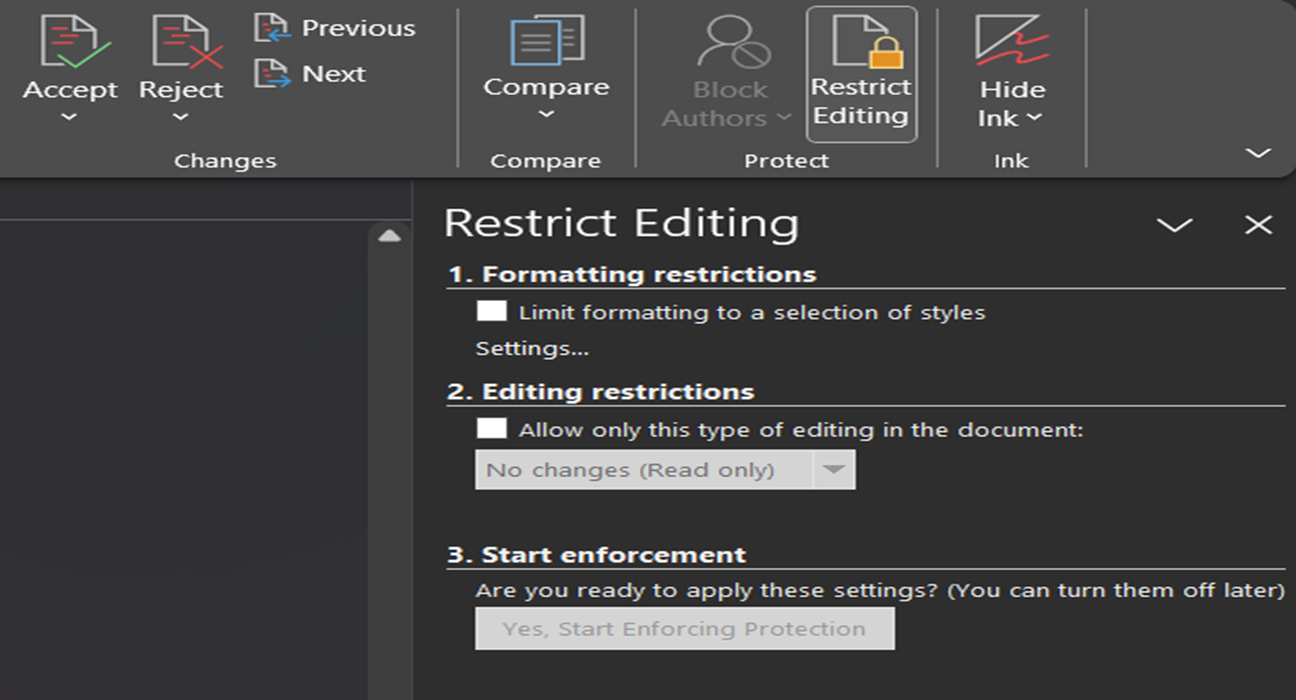
2 – In the Protect group, click on the Restrict Editing button. This will open the Restrict Editing pane on the right side of the screen.

3 – In the Restrict Editing pane, check the box that says Allow only this type of editing in the document.
From the drop-down menu next to it, you can choose the type of editing you want to allow, such as No changes (Read only) or Tracked changes.

4 – If you want to enable specific individuals to have unrestricted editing access, you can add their names or email addresses in the Exceptions (optional) section. Optionally, you can also set a password to further restrict access to editing permissions.
5 – Once you have configured the desired editing restrictions, click on the Yes, Start Enforcing Protection button at the bottom of the Restrict Editing pane. If you set a password, you will be prompted to enter it. Otherwise, the document will be protected immediately.

After applying the restrictions, the document will be locked for editing according to the settings you specified. Others can still view the document, but the options to modify the content will be limited based on the chosen editing restrictions.
To remove the editing restrictions, open the document again, go to the Review tab, click on the Restrict Editing button, and then click on the Stop Protection button in the Restrict Editing pane. If a password was set, you will need to enter it to remove the restrictions.

Using the Restrict Editing feature in Microsoft Word provides an added layer of control over your documents, ensuring that they remain secure and protected from unauthorized changes.


