In Windows 11, you can utilize offline maps to access maps and navigation even when you don’t have an internet connection. Offline maps are a convenient feature that allows you to save maps of specific areas directly to your device, ensuring you can access them anytime, anywhere.
Here’s how you can use offline maps in Windows 11:
1 – Click on the Start button in the taskbar to open the Start menu. From the Start menu, click on the Settings icon, which resembles a gear.

2 – In the Settings window, select the Apps category. Within the Apps settings, click on the Offline Maps option located on the left-hand side.

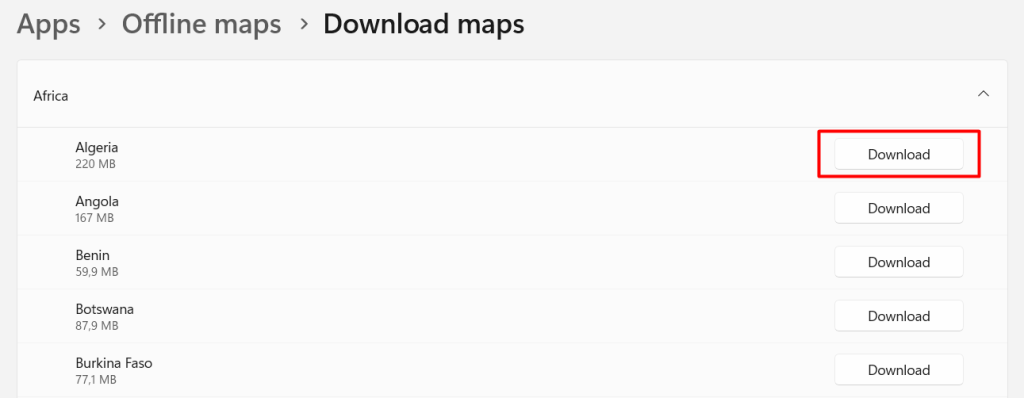
3 – On the Offline Maps page, click on the Download Maps button.

4 – A new window will appear, displaying a map with sections divided into regions. You can zoom in or out to find the desired area you want to download.
Click on the specific region or area you want to save for offline use. You can choose multiple regions if needed.
Once you’ve selected the desired regions, click on the Download button.

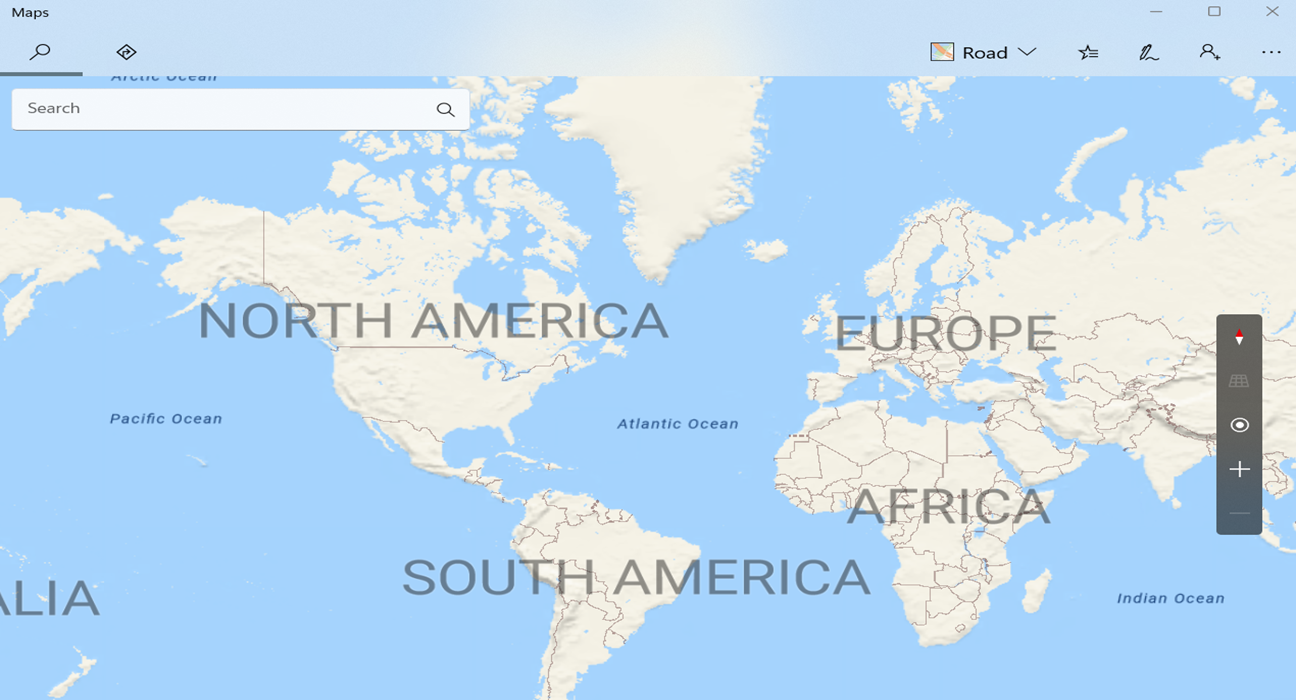
5 – Windows will begin downloading and saving the selected maps to your device. The progress will be displayed on the screen. After the download is complete, you can access the offline maps by opening the Maps app in Windows 11. The downloaded maps will be available for use even when you have no internet connection.
By utilizing offline maps in Windows 11, you can navigate and explore regions without relying on an internet connection. This feature is especially useful when traveling to areas with limited or no network coverage, ensuring you have access to maps and directions whenever you need them.


